Project Setup
Set up your Roled project through the Console in minutes. This guide walks you through creating resources, permissions, roles, and users—the foundation for both authentication approaches.
What you’ll build
| Step | Outcome |
|---|---|
| 1 | Project named Business App |
| 2 | Custom resources: products, orders |
| 3 | Custom permissions: create, read, update, delete for each resource |
| 4 | Two roles: Store Manager, Inventory Staff |
| 5 | Two users: Alice Smith, Bob Johnson |
1. Sign up and access the Console
Create your account at Roled Console.
Optionally verify your email.
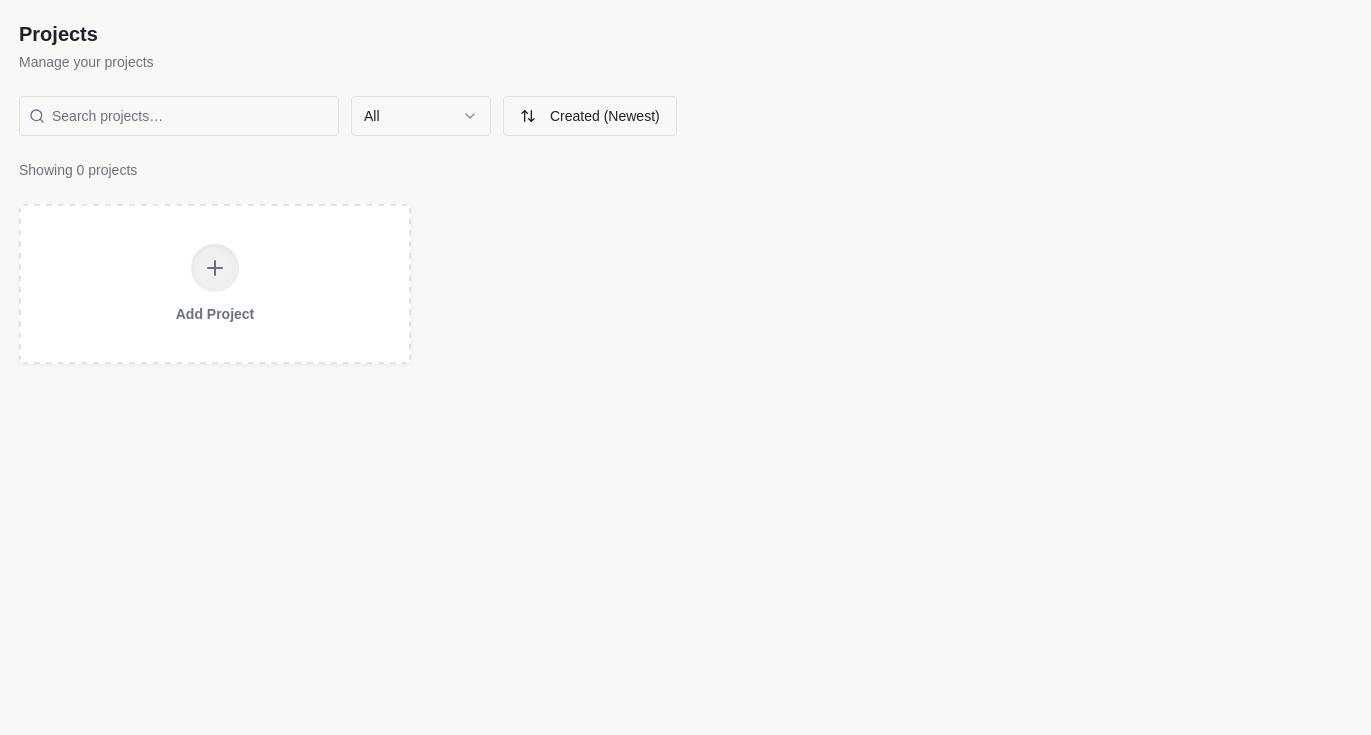
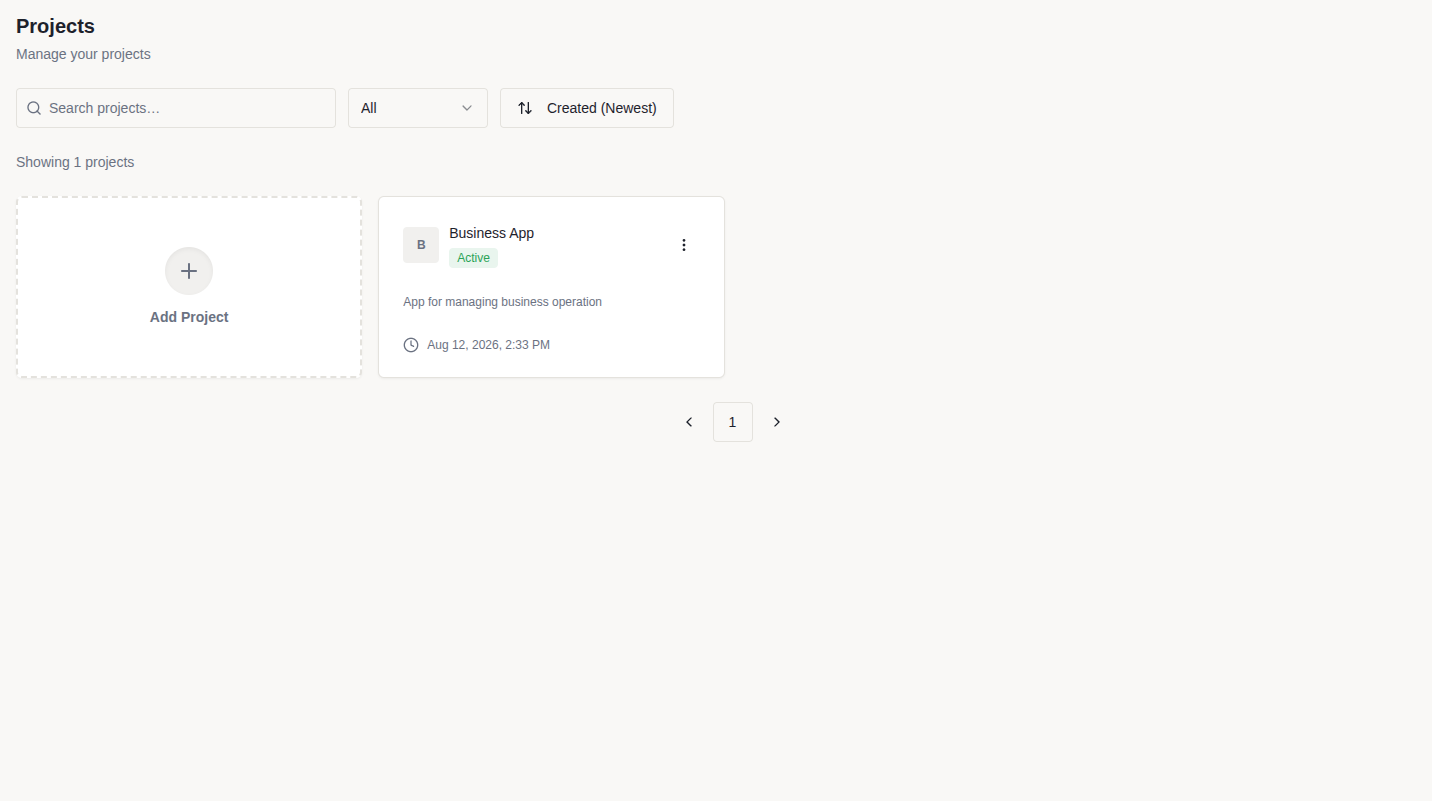
You’ll see the empty project list—ready to create your first project.
2. Create your project
A project is an isolated workspace containing everything for one application: users, roles, resources, permissions, and OAuth clients.
From the project list, click Add Project.
Fill in the project details:
Field Value Name Business App Description App for managing business operations Click Create to provision your project.
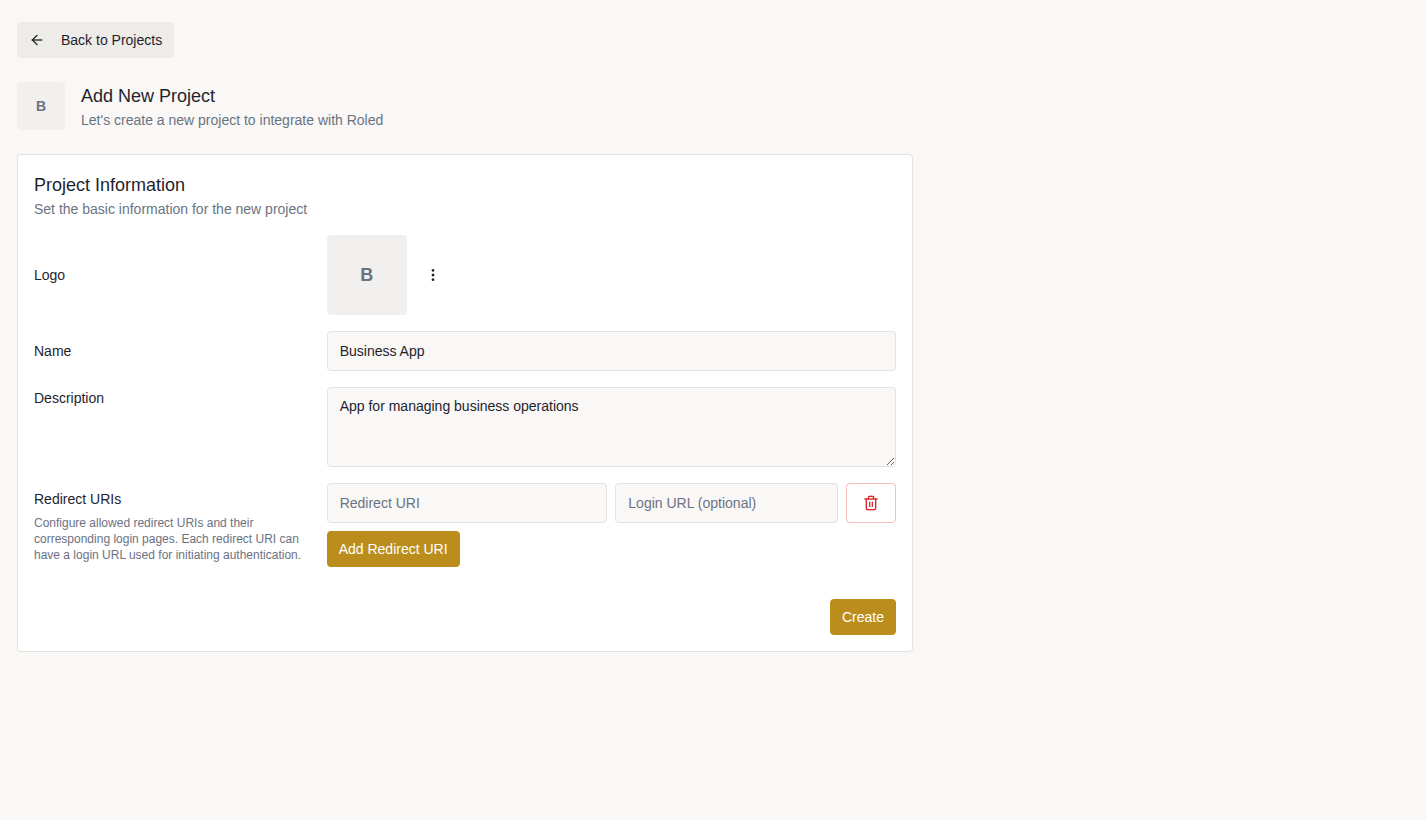
Your project is created with these built-in components:
- Resources:
users,roles,resources,permissions,clients - Permissions:
create,read,update,deleteon each built-in resource - Default OAuth client ready for authentication flows
- Resources:
3. Define resources and permissions
Resources represent entities you want to protect (like products, orders, or documents). Permissions define actions users can perform, using the format resource:action (e.g., products:create).
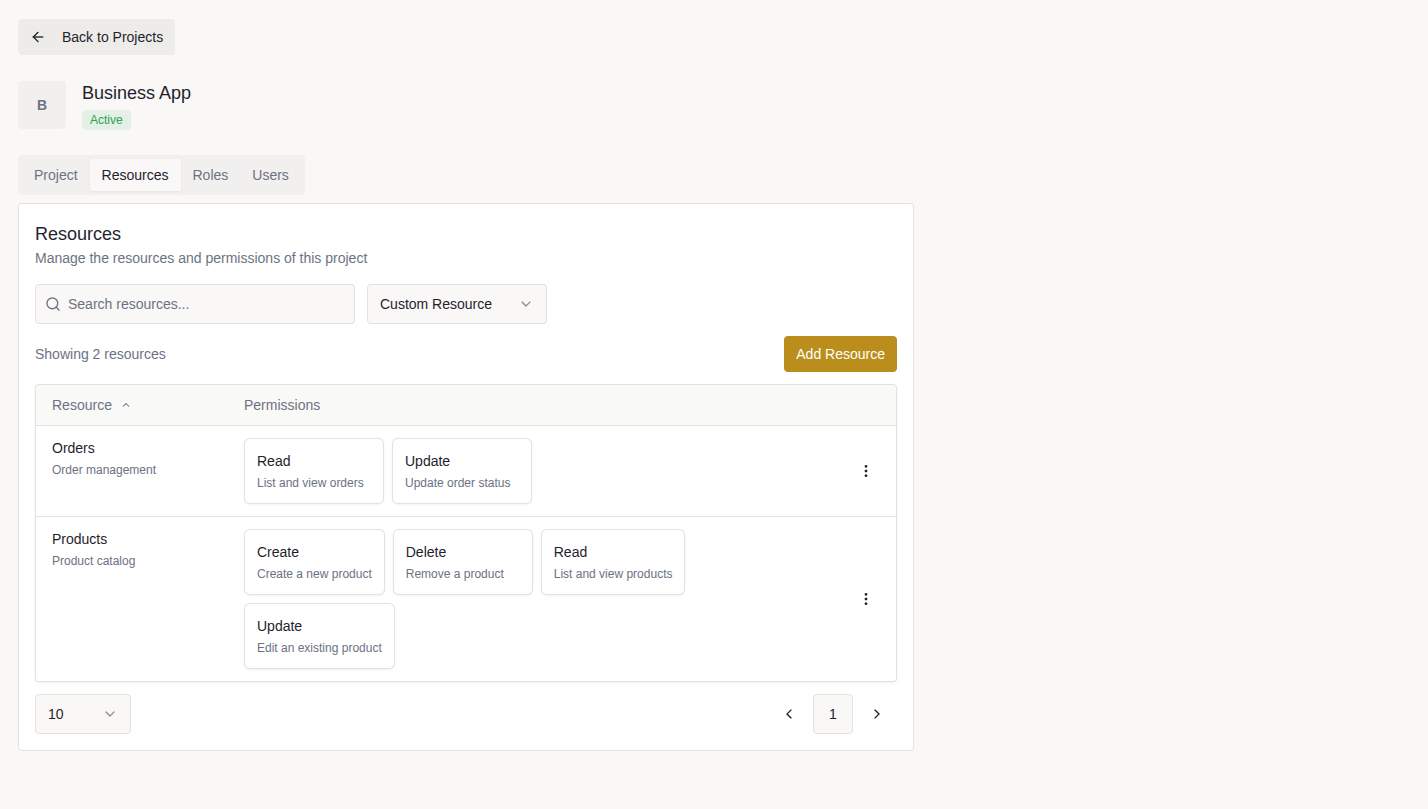
Create two custom resources for Business App:
Products
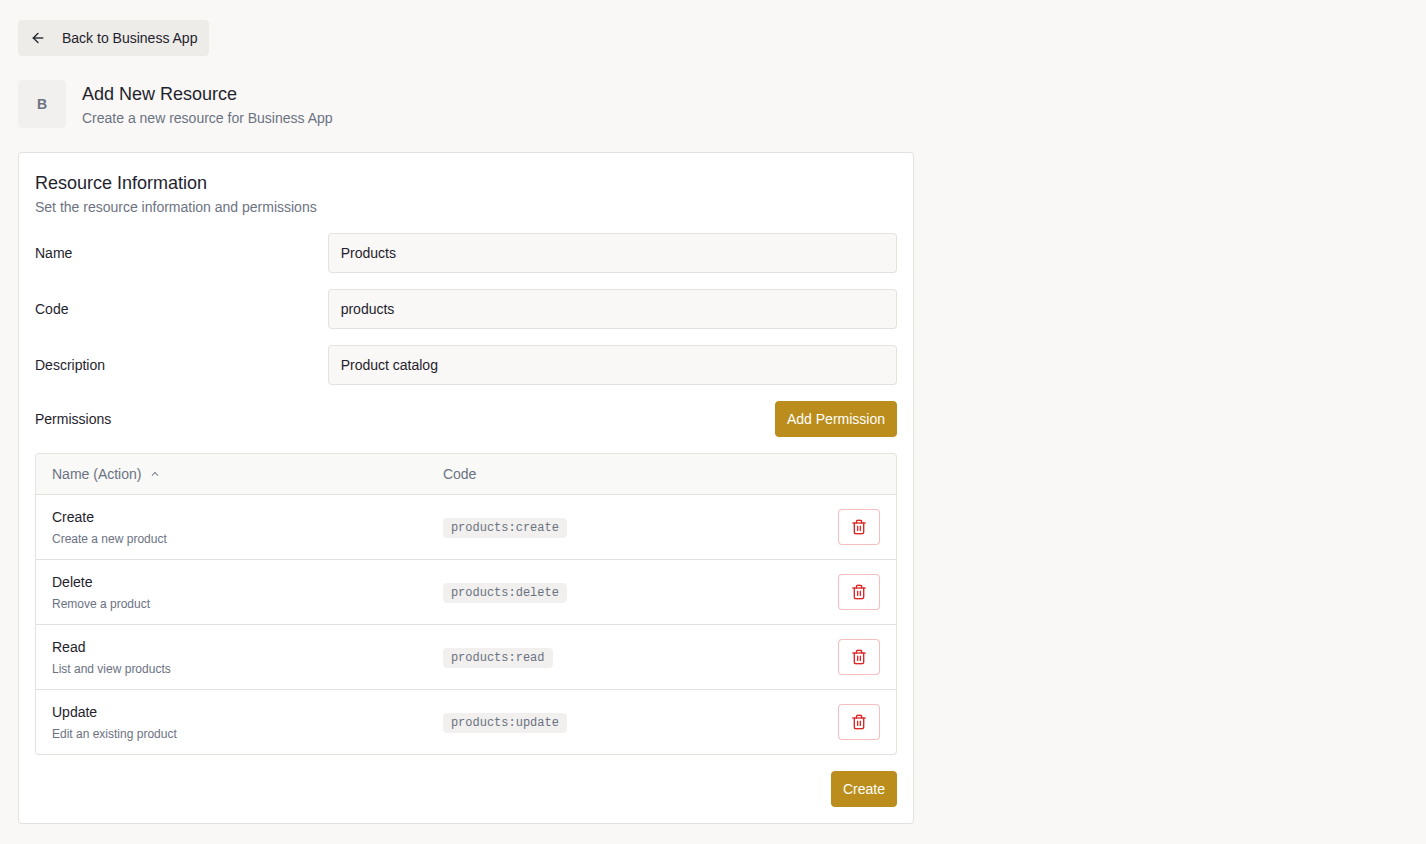
Permission Code Description Create createCreate a new product Read readList and view products Update updateEdit an existing product Delete deleteRemove a product Orders
Permission Code Description Read readList and view orders Update updateUpdate order status
Add resources to your project:
On the project details page, navigate to the Resources tab.
Click Add Resource for each resource above.
For each resource, add its permissions by clicking Add Permission.
Verify both resources and their permissions appear in the list.
4. Create roles
Roles bundle permissions together and get assigned to users. Create two roles for Business App:
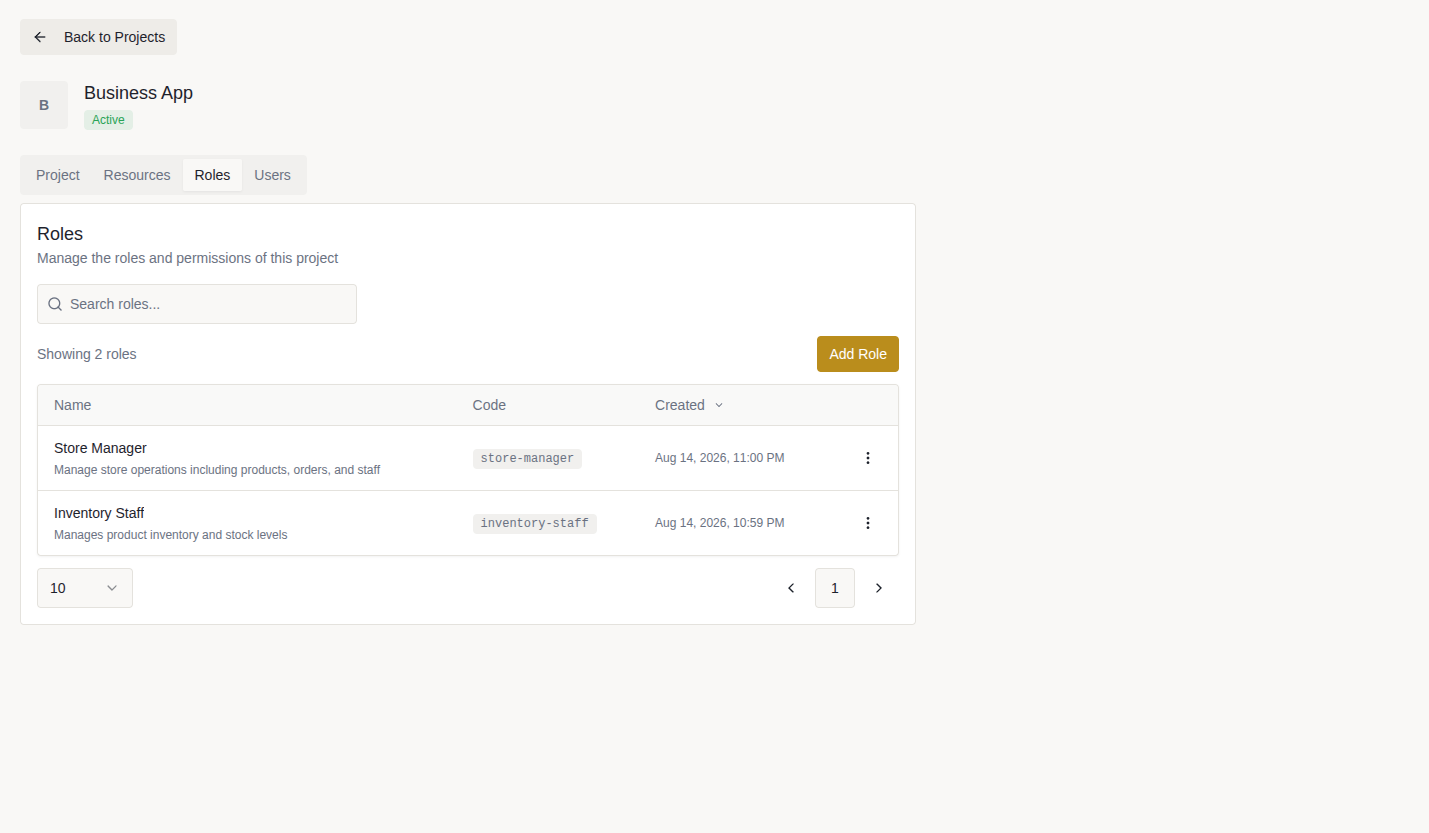
| Role | Code | Description | Permissions |
|---|---|---|---|
| Store Manager | store-manager | Manage store operations including products, orders, and staff | products:create, products:read, products:update, products:delete, orders:read, orders:update, users:read |
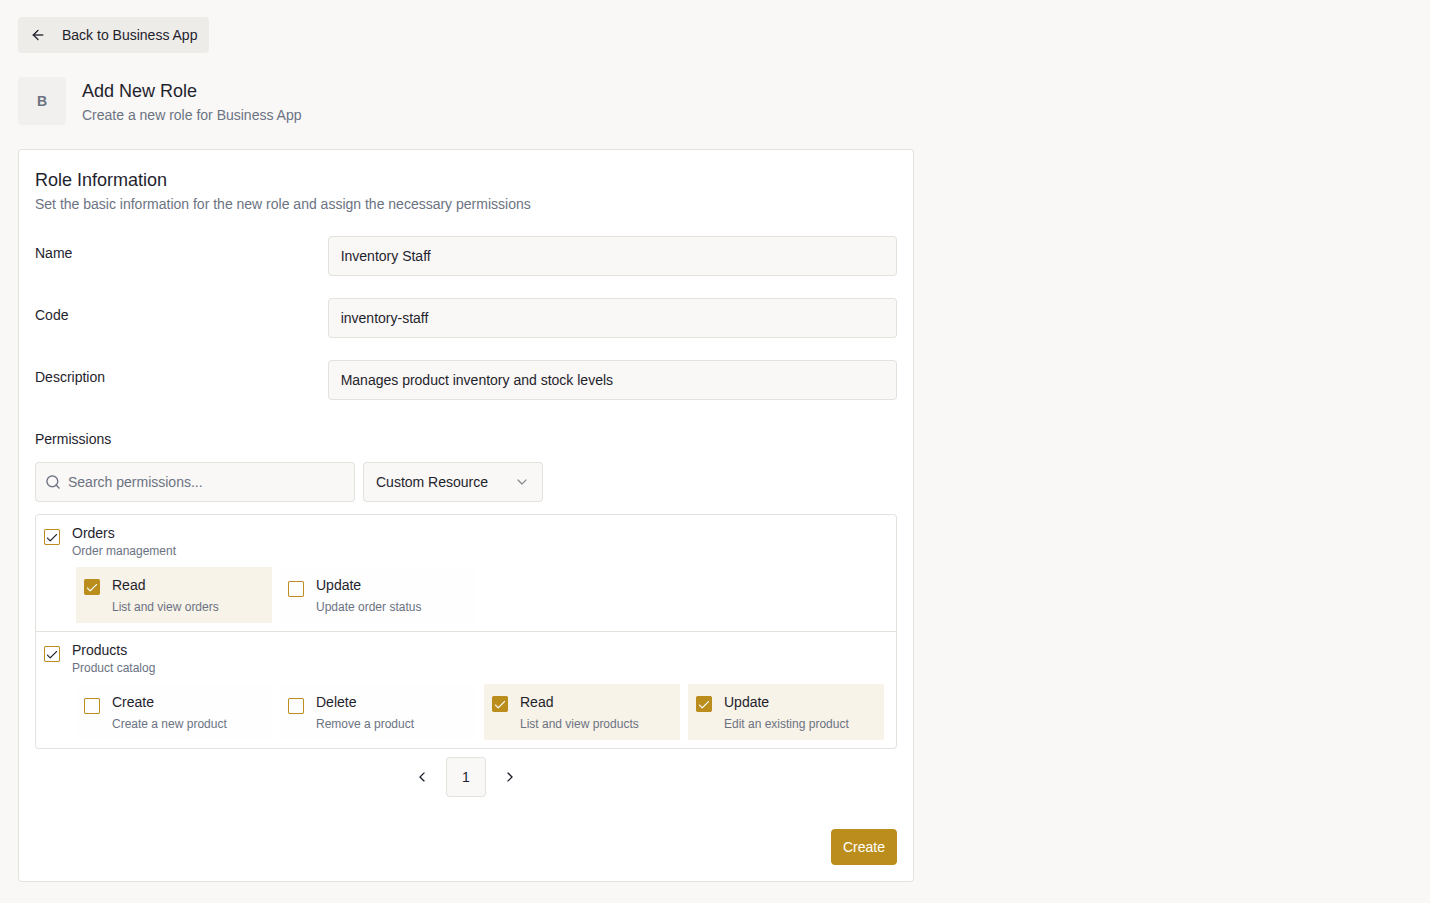
| Inventory Staff | inventory-staff | Manage product inventory and stock levels | products:read, products:update, orders:read |
Navigate to the Roles tab.
Click Add Role for each role above.
Select the appropriate resources and permissions for the roles.
Verify both roles appear in the list.
5. Add users
Users represent human identities in your project. Each user is assigned exactly one role that determines their permissions.
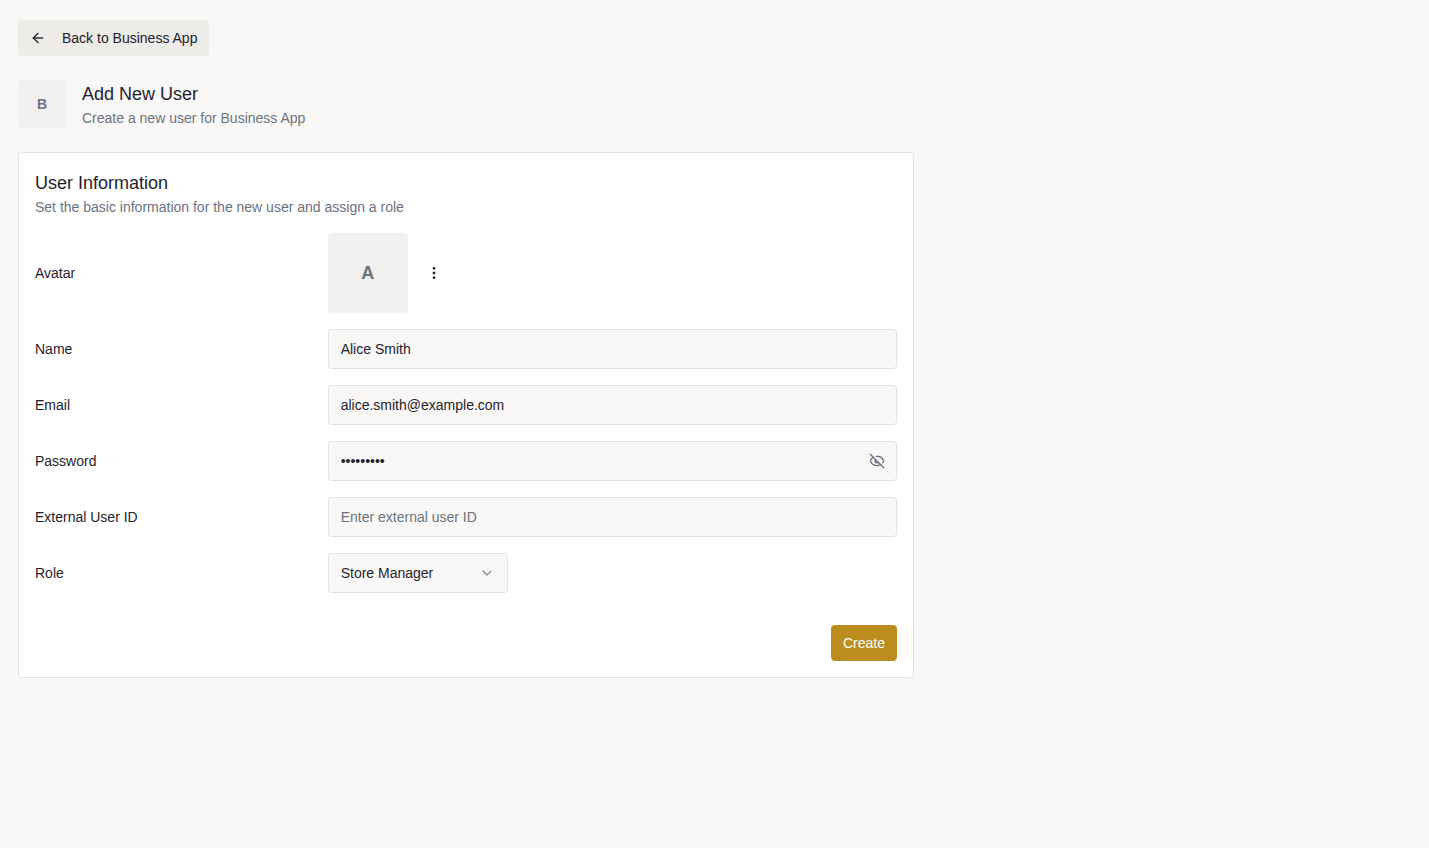
Add two users for testing:
| Name | Role | |
|---|---|---|
| Alice Smith | alice.smith@example.com | Store Manager |
| Bob Johnson | bob.johnson@example.com | Inventory Staff |
Navigate to the Users tab.
Click Add User for each user.
Fill in their details and set an initial password.
Verify both users appear in the list.
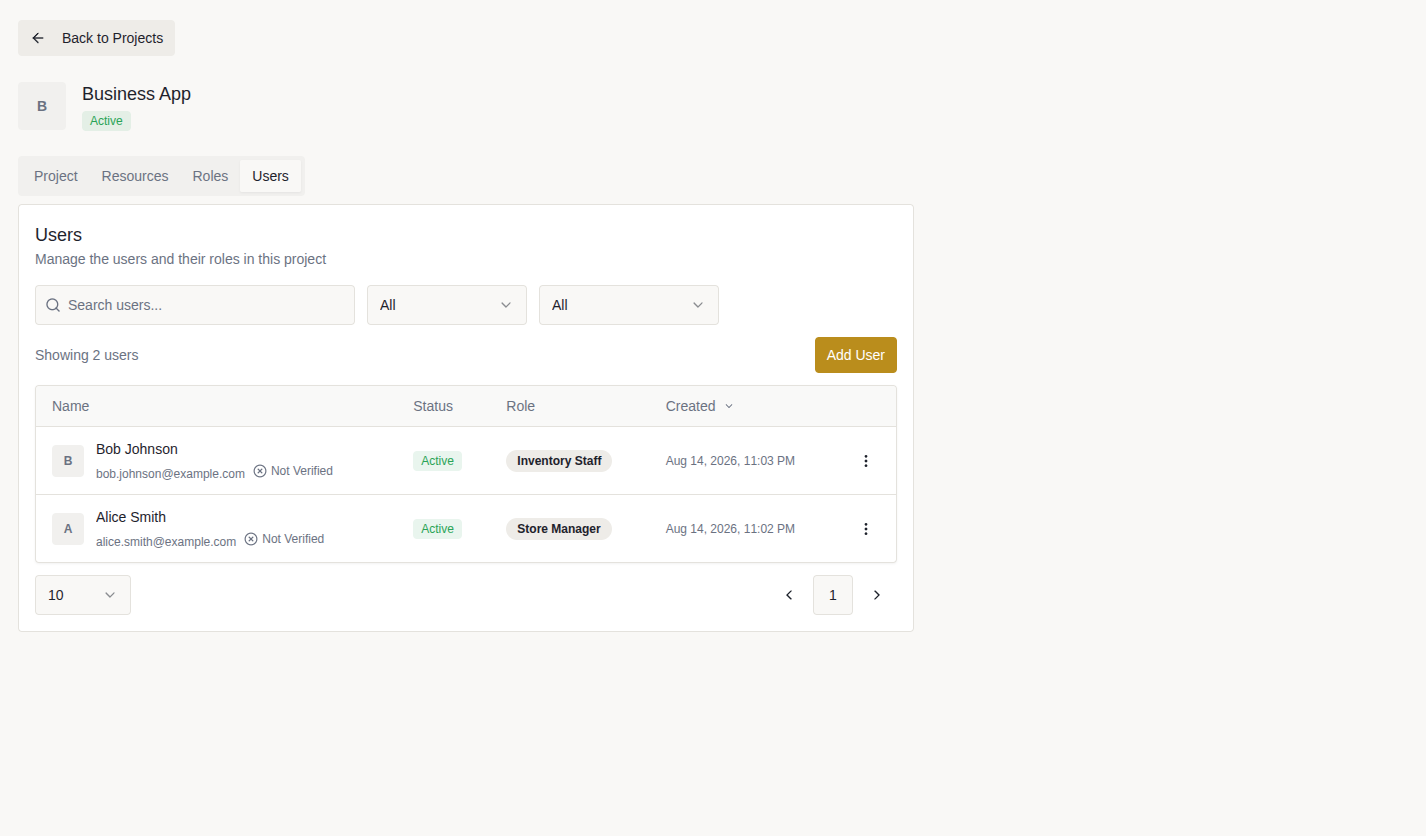
Your project is now fully configured and ready for authentication integration!
Next steps
Choose your authentication approach:
- New application or want turnkey auth? → Fully Managed Users
- Existing auth system? → Decoupled Users
Need more details?
- API Reference — complete endpoint documentation
- Core Concepts — deeper dive into Roled architecture